

Learn how to pack and move a laundry room the right way — from disconnecting washers and dryers safely to boxing up supplies and utility items without the stress.
Figuring out how to pack and move a laundry room is one of those tasks that most people assume will take an hour and ends up taking an entire afternoon. The space is usually small, but what is inside it is anything but simple. You are dealing with two of the heaviest appliances in your home, a tangle of hoses and connections that need to be properly disconnected before anything moves, shelves full of detergents and cleaning supplies that are awkward to pack, and a utility sink or cabinet installation that may require a little more work than just lifting and loading. Get it wrong and you risk a flooded laundry room, a damaged washer drum, or a dryer vent situation that causes real problems down the road.
The good news is that a laundry room move is completely manageable when you approach it in the right sequence and with the right preparation. And if you would rather hand the whole job to professionals who have handled every type of washer and dryer configuration imaginable, the team at 2 Jacked Guyz professional movers is ready to take it from start to finish.
Even a small laundry room tends to accumulate surprising amounts of clutter over time. Before you touch a single hose or lift a single shelf, do an honest walk-through of the entire space.
Sort everything into three categories: keep, donate, and discard. That half-empty container of fabric softener you switched away from two years ago? The ironing board with the burnt cover? The extra lint trap you kept for a dryer you no longer own? These are the kinds of things that end up on the moving truck out of inertia rather than intention. Cleaning products in usable condition can sometimes be passed along to neighbors or donated to local shelters and community organizations. Anything expired, nearly empty, or unlikely to survive a move should be disposed of properly before moving day.
Take stock of your laundry appliances too. If your washer or dryer is old and you have been planning to upgrade, moving day is the easiest natural break point to let go of aging units rather than spend effort moving something you plan to replace immediately after.
The washing machine is the most preparation-intensive appliance in your laundry room, and skipping steps here can lead to water damage or a broken machine. Give yourself at least a full day before the move to complete this process properly.
Run an empty wash cycle — hot water, no laundry — to flush out any remaining water and residue from inside the drum. Once the cycle finishes, leave the door or lid open for several hours to allow the interior to dry out completely. Moving a washer with moisture trapped inside can encourage mold and mildew during transit.
Turn off the hot and cold water supply valves behind the machine. These are typically located on the wall behind the washer. Once the water is off, run the machine briefly on a rinse cycle to release any pressure remaining in the hoses.
Disconnect the hot and cold water inlet hoses from both the wall valves and the back of the machine. Keep a bucket and some old towels on hand — there will almost always be residual water in the hoses when you detach them. Once drained, coil the hoses and secure them with a rubber band or tape so they are ready to travel with the machine. Do the same with the drain hose.
Most front-loading washers came with shipping bolts designed to lock the drum in place during transport. If you kept your original packaging, retrieve and reinstall these bolts before moving the machine. If you no longer have them, replacement shipping bolt kits can often be ordered for your specific make and model. Moving a front-loader without securing the drum risks serious internal damage. Top-loading machines are generally less susceptible to this issue but can still benefit from having the drum stabilized during a bumpy move.
Wipe down the exterior surfaces and tape the power cord to the back of the machine so it does not drag or catch on anything during loading. Remove any detachable drawers or trays and pack them separately in a clearly labeled box.
The dryer requires its own careful preparation — especially because it involves either a gas line or a 240-volt electrical connection, both of which need to be handled correctly.
Unplug the dryer from the wall. Electric dryers typically use a 240-volt outlet — do not attempt to force the plug into a standard outlet, and do not leave the power cord loose where it can be tripped over or damaged. Tape the cord securely to the back of the unit.
If your dryer runs on gas, this step requires more caution. Turn off the gas supply valve — it is usually located directly behind the machine on the wall — before disconnecting the flexible gas line. If you are not comfortable doing this yourself, hire a licensed plumber or appliance technician to do it before moving day. A gas leak during a move is not a risk worth taking. Once disconnected, cap the gas line properly and have it inspected before reconnecting at your new home.
Detach the dryer vent hose from both the back of the dryer and the wall duct. Shake out any accumulated lint and dispose of it — do not pack lint-filled ductwork inside a moving box. Coil the vent hose and secure it for transport, or replace it with a new one at the new location if it is damaged or heavily clogged.
Once the appliances are prepped, turn your attention to everything else in the laundry room. These items are easy to underestimate — but detergents, bleach, and cleaning products have a way of leaking, tipping, or interacting badly with each other when packed carelessly.
Washing machines and dryers are among the heaviest appliances in any home, and their shape — tall, boxy, smooth-sided — makes them genuinely awkward to maneuver through doorways and down stairs. Attempting to muscle either appliance without the right equipment is how people injure their backs, gouge their walls, and scratch their floors.
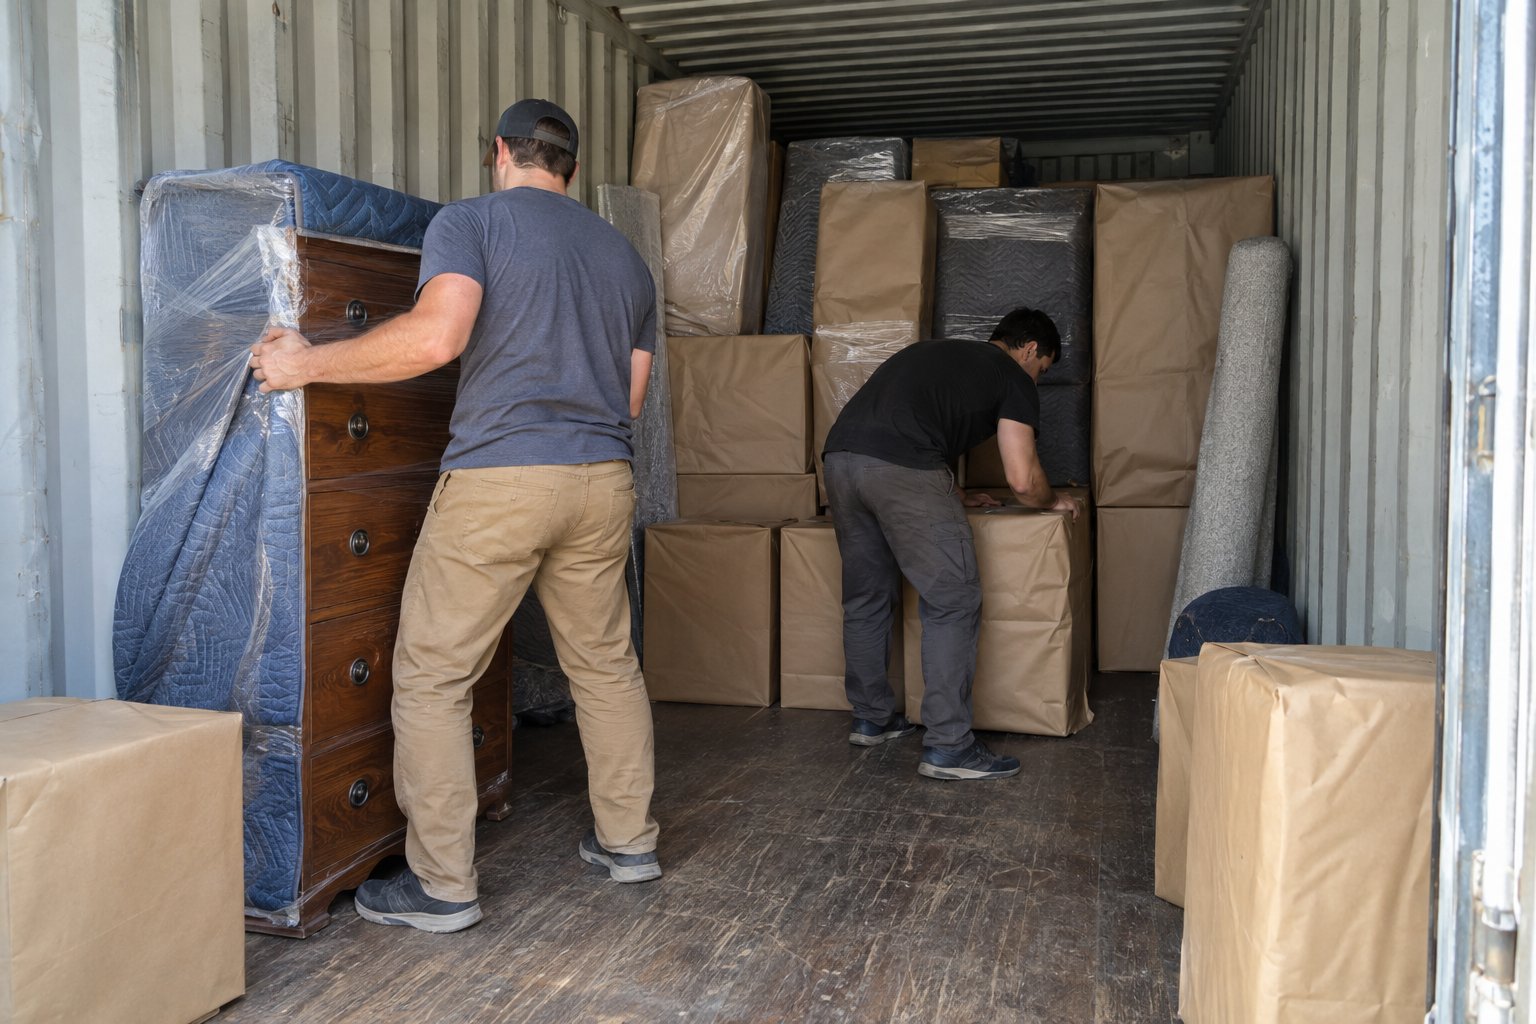
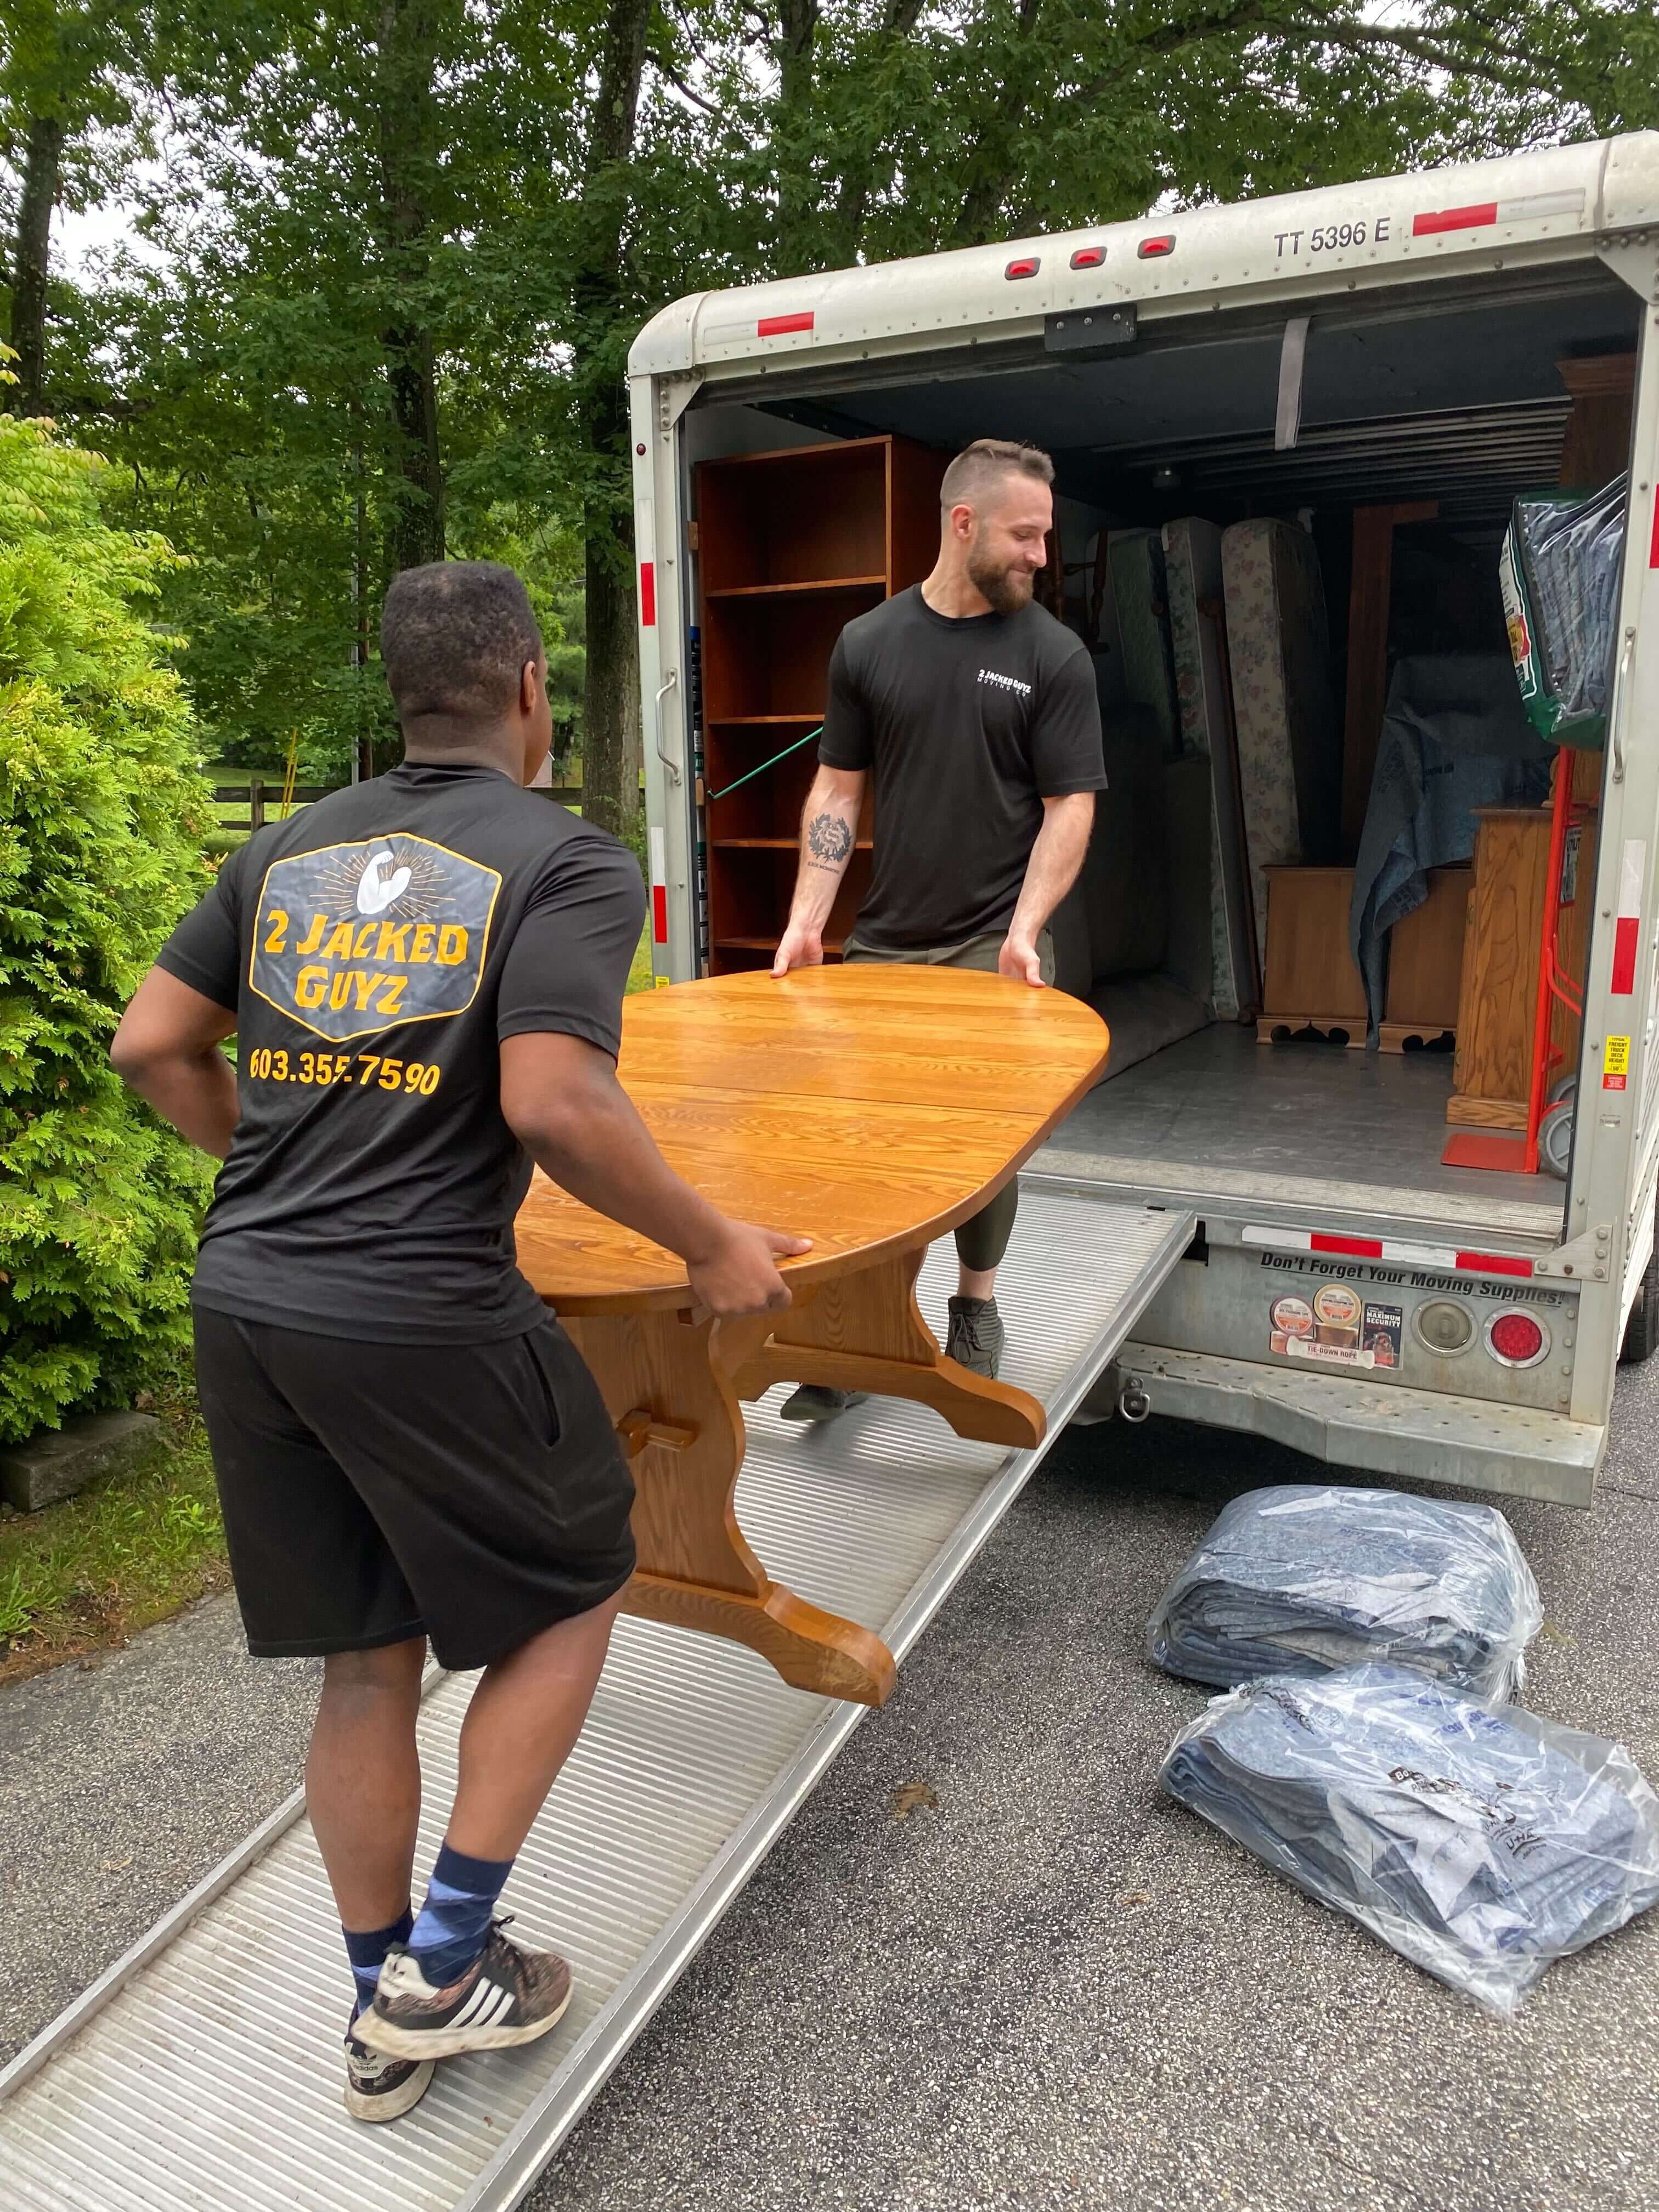
The right approach involves an appliance dolly (also called a hand truck), moving straps, and at minimum two people who know what they are doing. Before the appliance leaves the laundry room, protect the floor with a furniture slider or a folded moving blanket so the appliance can be tilted and repositioned without scoring the surface. Tape the power cord and hoses securely to the back of each unit so nothing drags. Wrap the exterior of each machine in a moving blanket and secure it with stretch wrap to protect the finish during transport.
In the truck, stand the washer and dryer upright — never on their sides. Secure them against the truck wall with moving straps to prevent shifting during transit. If either machine is a front-loader with shipping bolts installed, double-check that those bolts are tight before closing the truck.
If this sounds like a job you would rather leave to people who move appliances every day, 2 Jacked Guyz has the equipment, the experience, and the muscle to get your laundry room moved safely and efficiently.
Once everything arrives at the destination, the laundry room setup is essentially the disconnection process in reverse — but it pays to do it carefully rather than quickly.
Before reconnecting the washer, inspect the new water supply hoses. If the hoses you removed are more than five years old, this is the right moment to replace them with new braided stainless steel hoses, which are significantly more resistant to bursting and leaks than standard rubber hoses. Connect hot to hot and cold to cold, tighten hand-tight plus a quarter turn with pliers, and check both connections for drips before running the first cycle.
For the dryer, reconnect the vent hose and make sure it runs as short and straight as possible to the exterior vent. A longer, more convoluted vent run reduces dryer efficiency and creates a lint buildup risk. If the vent hose is more than a few years old or shows any signs of damage, replace it with rigid metal duct rather than flexible foil duct.
For gas dryers, have a qualified professional reconnect the gas line and check for leaks before operating the machine. Do not skip this step.
Run a short test cycle on both machines before considering the laundry room setup complete. Check under both machines for any sign of water pooling after the washer runs its first load.
Request a personalized quote and see how careful planning and reliable service make every move smoother. Our team prepares each step to handle challenges safely and efficiently.
If your washer is a front-loading model, you should reinstall the shipping bolts — the same ones used when the machine was originally delivered — before moving it. These bolts lock the drum in place so it cannot shift and damage the internal suspension system during transport. If you no longer have the original shipping bolts, replacement kits can typically be ordered for your specific make and model. Top-loading washers are generally more tolerant of transport without shipping bolts, but securing the drum is still a smart precaution.
Washing machines and dryers should almost always be transported upright, not on their sides. Laying a washer on its side can damage the drum bearings, suspension springs, and internal components that are not designed to bear lateral weight. Some manufacturers specifically state that their machines should only be moved upright. If space in the truck is limited, secure the appliance upright against the truck wall using moving straps rather than laying it down.
Most standard laundry detergents and fabric softeners can be poured down a drain and the empty containers recycled, since they are generally water-soluble and safe for standard municipal sewer systems. Bleach should be diluted with water before disposal down the drain in small quantities. Harsh chemical products — particularly those with hazard warnings — should be taken to a local household hazardous waste collection facility rather than poured down the drain or placed in regular trash.
Unless you have direct experience working with gas appliances, it is strongly advisable to have a licensed plumber or appliance technician disconnect your gas dryer before your move. Gas line connections that are not handled correctly can result in dangerous leaks. The cost of a professional disconnection is minor compared to the risk. Once you arrive at your new home, the same applies to reconnection — have the gas line reconnected and leak-tested by a qualified professional before operating the dryer.
Ideally, begin preparing your washer at least 24 to 48 hours before moving day. Running a final cleaning cycle and allowing the drum to fully dry out takes time, and you do not want moisture trapped inside during transport. Dryer disconnection can typically be done the evening before the move. If you are hiring a professional gas line technician to disconnect a gas dryer, schedule that appointment several days in advance to ensure availability.
No long forms, no delays. Just a move that’s ready when you are. Secure your moving date today.