
Learn how to pack and move a kitchen the right way — from wrapping fragile dishes to boxing heavy appliances — without breakage or wasted time on moving day.
Figuring out how to pack and move a kitchen is one of the most underestimated challenges of any move. What looks like a manageable collection of dishes and gadgets turns out to be a labyrinth of fragile glassware, oddly shaped appliances, sharp knives, half-full pantry items, and a seemingly endless supply of lids that belong to pots no one can identify. The kitchen is the most complex room in the house to pack — and the one most likely to produce boxes full of broken things if you rush it.
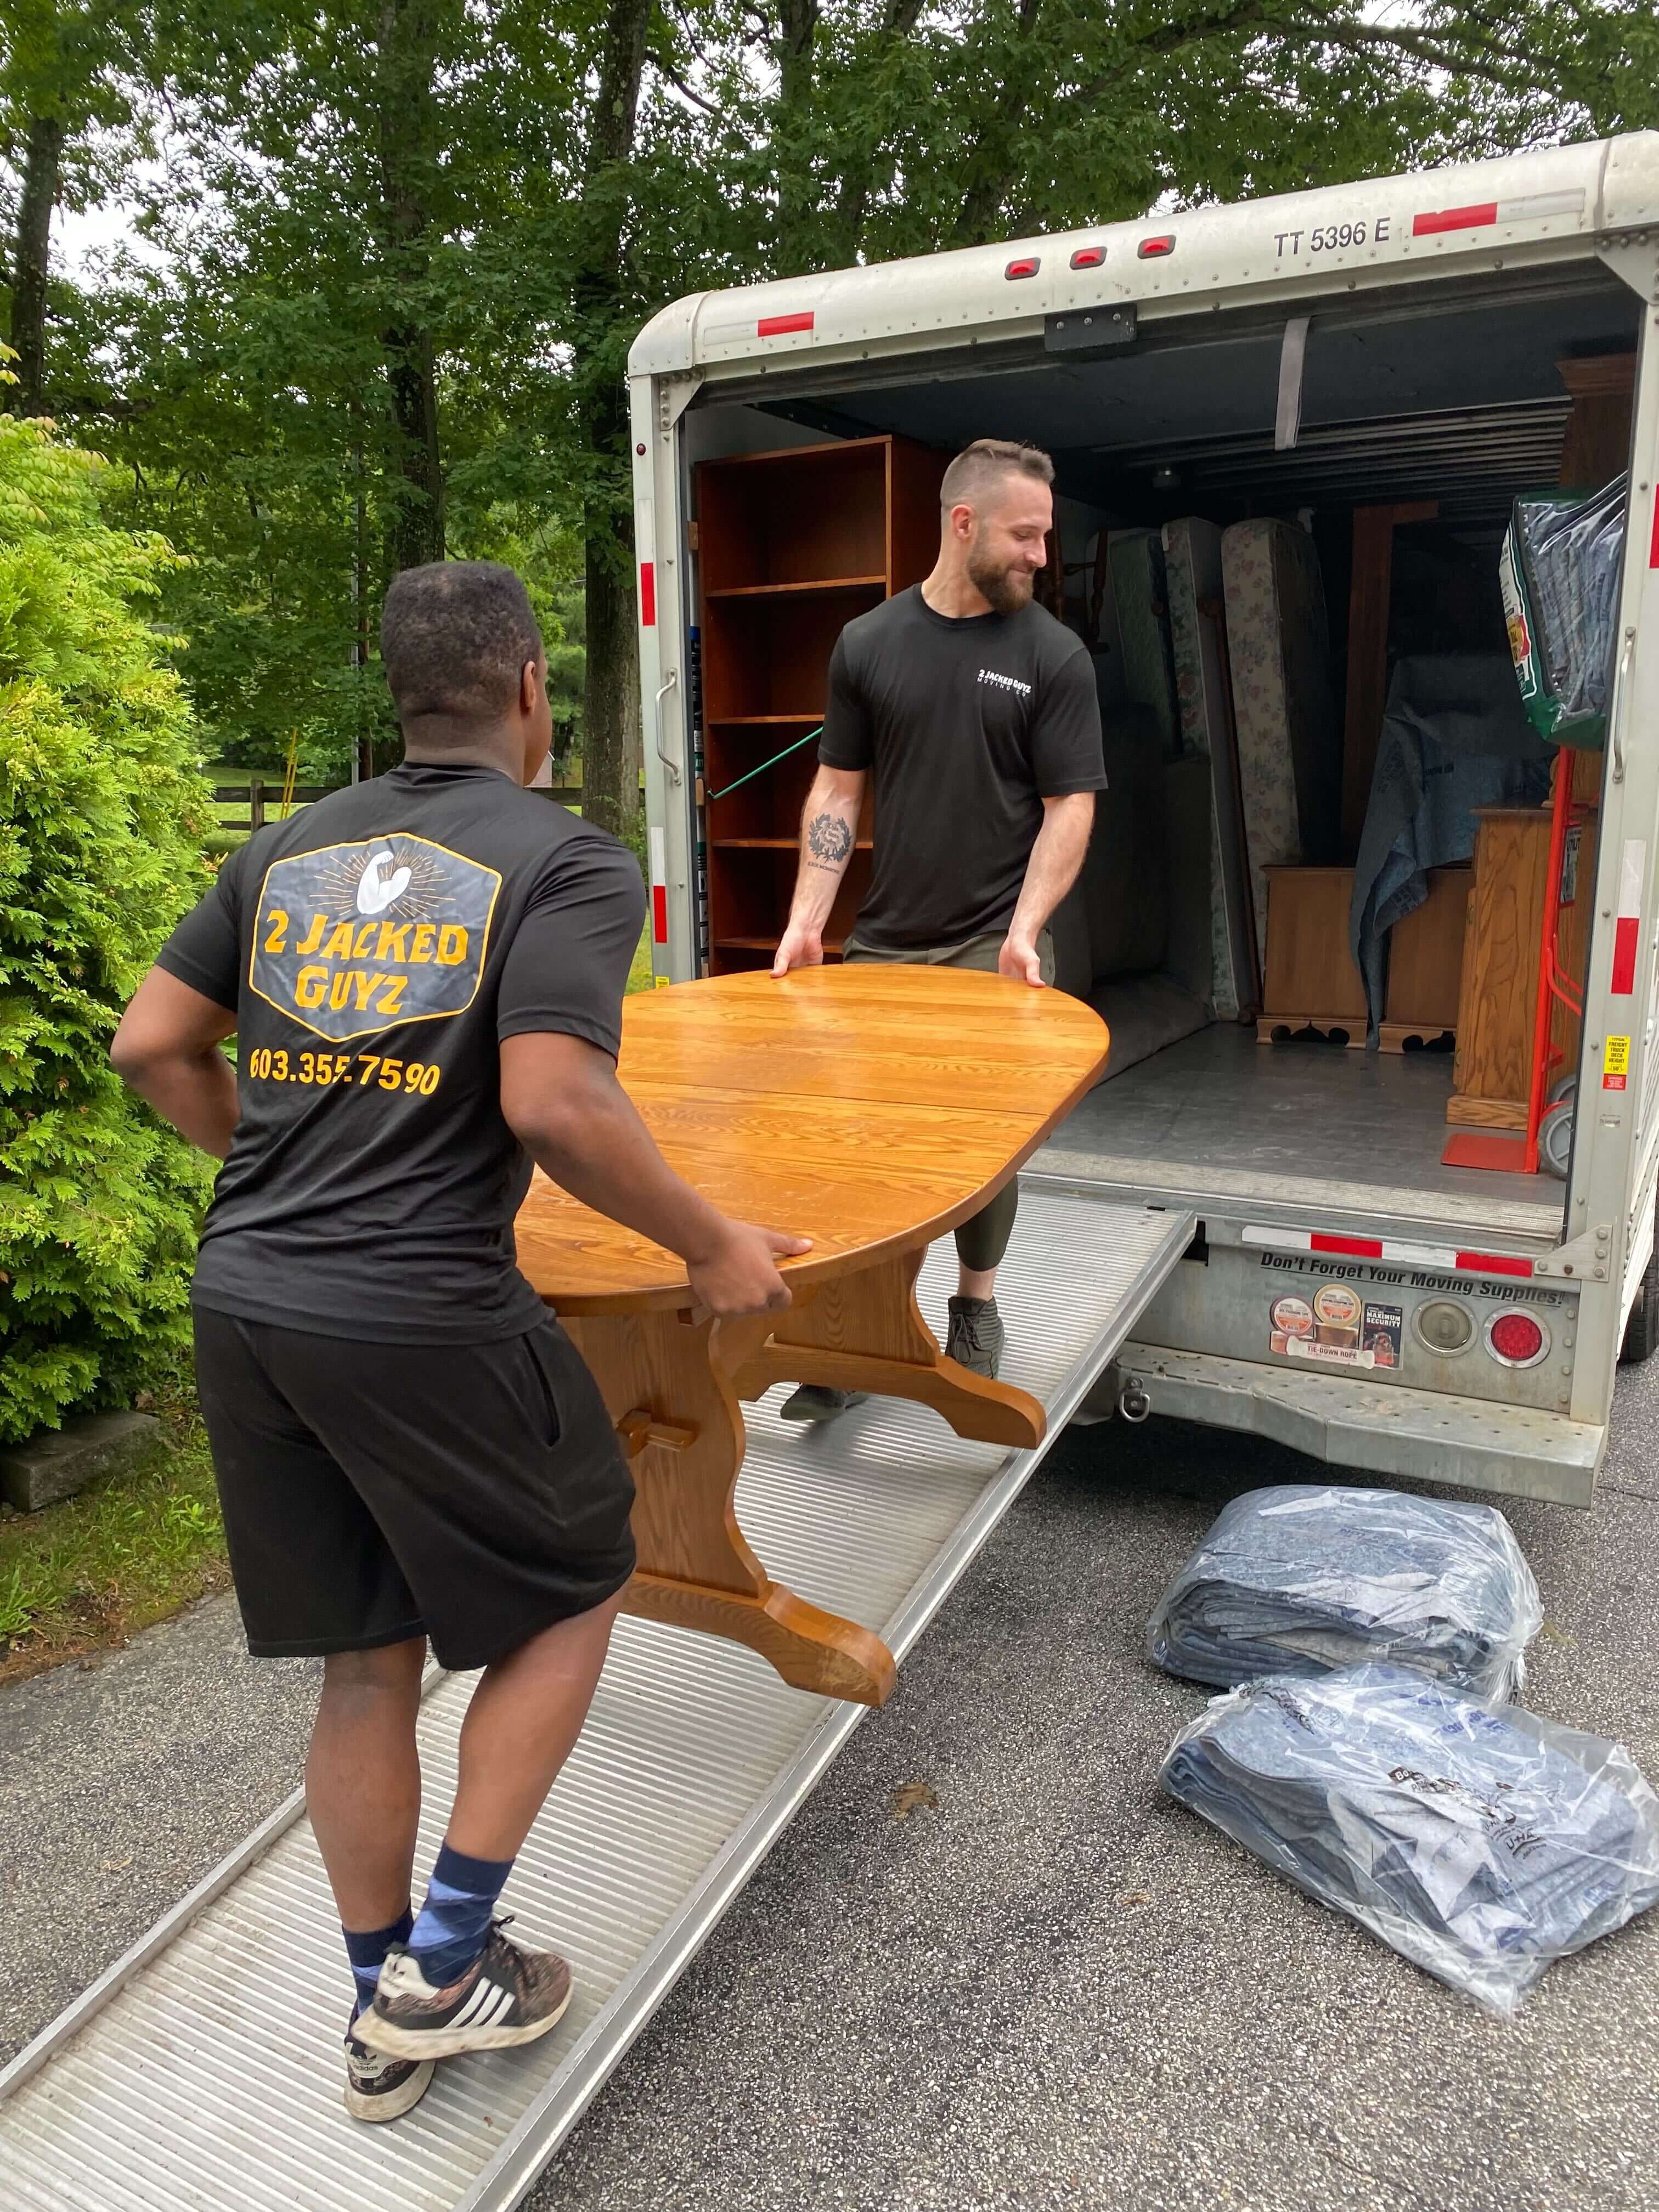
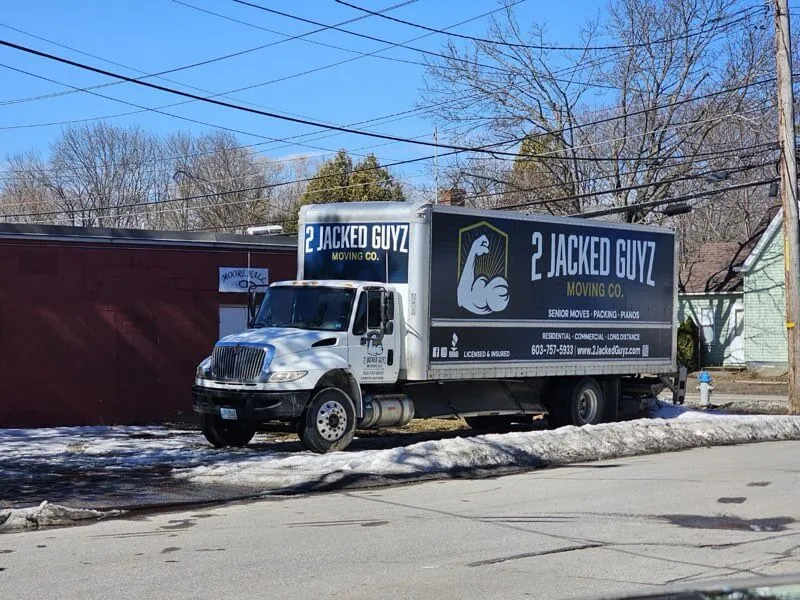
The good news is that a systematic room-by-room approach makes it entirely manageable. And if the whole project feels like too much to take on alone, the team at 2 Jacked Guyz professional movers is experienced in handling every type of household move, kitchen and all.
The kitchen is the room in most homes where things go to be forgotten. Before you wrap a single dish or tape a single box, take an honest inventory of what is actually worth moving. Expired pantry items, duplicate gadgets, appliances you have not used in years, chipped mugs, and mismatched containers all deserve a hard look.
Sort everything into three categories: keep, donate, and discard. Canned goods and non-perishables you plan to keep can be moved, but they are heavy — be realistic about how much you actually want to transport versus simply restocking at the other end. Many food banks will gratefully accept unexpired pantry donations, which lightens your load and does some good at the same time.
The fewer items you move out of the kitchen, the faster the packing goes, the lighter the boxes, and the easier the unpacking will be on the other side.
Running out of packing paper in the middle of wrapping your china is exactly the kind of avoidable disaster that makes moving day miserable. Stock up on everything you need before you open a single cabinet door.
It is always better to return unused supplies than to run short. Buy more than you think you need and you will thank yourself later.
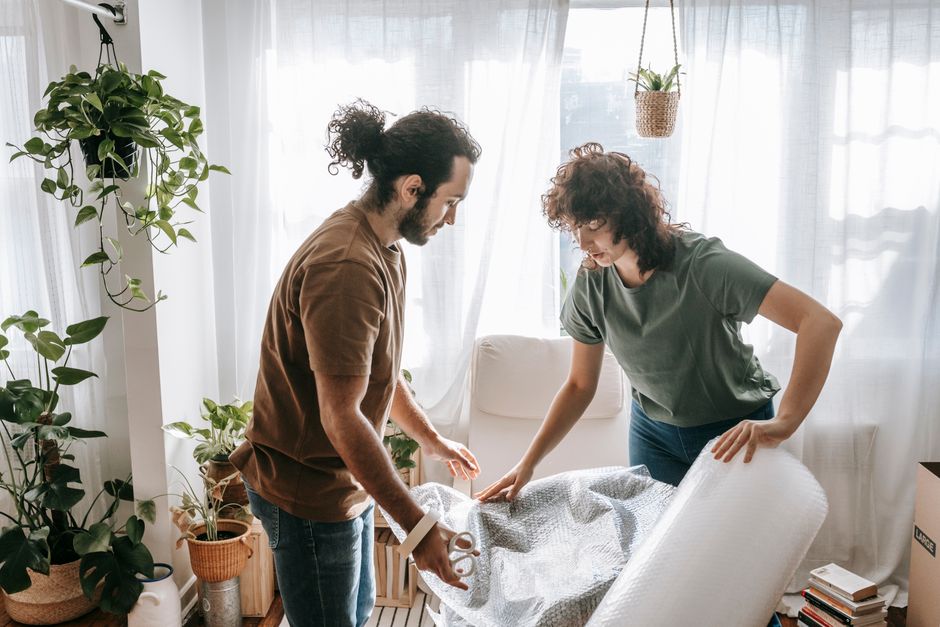
Fragile items are where most kitchen moves go wrong. A few minutes of careful wrapping per item is far less painful than unpacking a box of shards at the new house.
The single most important rule for dishes: pack them vertically on their edges, not flat. Plates stacked flat concentrate all the weight of the stack onto each individual plate and are far more likely to crack from pressure or impact. When packed on edge — like records in a crate — the force of any bump is distributed along the strongest part of the plate's structure.
Lay a generous sheet of packing paper flat. Place a plate in the center, fold the corners over it, and roll it up completely. Stack two or three wrapped plates together and wrap them again as a bundle. Line the bottom of the box with crumpled packing paper for cushioning, place the bundled plates vertically, and fill all gaps with more crumpled paper. The box should feel firm with no shifting when you gently shake it.
Glasses break most often at the rim and the stem. For everyday glasses, slide each one into a foam pouch or wrap it in two to three sheets of packing paper, tucking paper inside the glass as well as around the outside. For stemware, wrap the stem first with an extra layer of paper before wrapping the bowl.
Use a dish pack box with cardboard cell dividers so each glass has its own compartment. Place glasses upside down in their cells — this positions the rim (the most fragile edge) away from the bottom of the box where impact is highest. Fill any remaining space with crumpled paper so nothing shifts in transit.
Cast iron and heavy pots should go into small boxes only — weight adds up extremely quickly. Nest smaller pots inside larger ones with a layer of packing paper between each to prevent scratching. Lids are best wrapped individually and packed separately rather than left on top of pots where they can shift and break.
For non-stick pans, place a sheet of packing paper or a dish cloth between each pan to protect the coating. Baking sheets and cutting boards can be bundled together, wrapped in paper, and stood on edge in a box.
Appliances are heavy, awkwardly shaped, and often have fragile components like glass carafes, ceramic bowls, and digital displays. Taking a few extra steps here prevents costly replacements.
Whenever possible, pack small appliances in their original boxes — those are specifically molded for each item and offer the best protection. If you no longer have the original packaging, wrap each appliance fully in bubble wrap and place it in a snug-fitting box with plenty of packing paper on all sides.
Detach any removable parts — blender blades, coffee carafes, toaster crumb trays — and wrap them separately. Coil power cords neatly, secure them with a twist tie, and pack them alongside or inside the appliance rather than loose in the box. Label each box with the appliance name so unpacking is straightforward.
Large appliances like the refrigerator, stove, dishwasher, and microwave generally stay with the house or require special handling beyond standard boxing. If you are taking a freestanding refrigerator, it must be emptied, defrosted at least 24 hours before the move, and have its shelves and drawers removed and wrapped separately. Moving a large appliance without professional help is a genuine injury risk — this is an area where having experienced movers makes a significant difference. The crew at 2 Jacked Guyz — get a free quote can walk you through what is involved and handle the heavy work safely.
Canned goods are very heavy — use only small boxes and do not over-fill them. Dry goods like pasta, rice, and cereal are best sealed in zip-lock bags before boxing in case a package splits in transit. Spices travel well in small boxes grouped together, but make sure lids are tightly secured. Consider wrapping each spice jar in a small piece of packing paper to prevent any accidental loosening.
Open bottles of liquids — cooking oils, vinegars, sauces — are a particular risk. Tape lids shut, seal each bottle in a zip-lock bag, and pack them upright in a box with paper around them. Even with precautions, be prepared for the possibility that some bottles may not survive a long-distance move in perfect condition.
Never pack loose knives in a box. Wrap each knife individually in several layers of packing paper and secure the paper with tape so it cannot unwrap. A better option is to use a knife roll or pack knives blade-down in a sturdy box with the handles accessible. Label the box clearly so no one reaches in blindly. Knife blocks can be wrapped in moving blankets and loaded as-is.
Drawers full of spatulas, spoons, tongs, and peelers can be bundled together with a rubber band or placed in a zip-lock bag, then packed loosely in a medium box. There is no need to wrap each utensil individually — just keep them contained so they do not scatter inside the box.
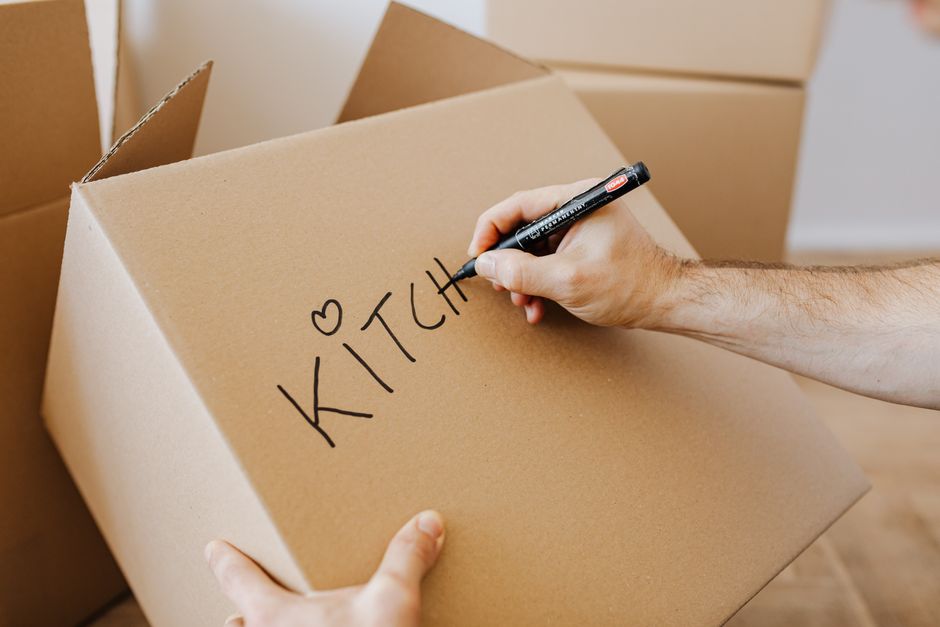
Every kitchen box should be labeled on at least two sides — the top and one face — with the room destination and a brief contents description. If a box contains fragile items, write FRAGILE in large letters and add an arrow indicating which end is up. This is not just for your benefit; it communicates clearly to anyone helping load or unload the truck.
When loading the moving truck, kitchen boxes should never go on the bottom of a stack. Fragile dish boxes in particular should be loaded last and placed on a flat, stable surface where other items cannot shift onto them. If you are using a professional moving crew, point out which boxes are fragile before loading begins so the team can position them properly.
Pack an essentials box last and load it first so it comes off the truck first. Include: a kettle or coffee maker, a couple of mugs, paper plates and plastic cutlery, a dish soap and sponge, a roll of paper towels, and a snack. Your kitchen will not be functional the moment you arrive, and this box ensures you can at least make a cup of coffee while you get your bearings in the new space.
Request a personalized quote and see how careful planning and reliable service make every move smoother. Our team prepares each step to handle challenges safely and efficiently.
Most people find that starting two to three weeks out gives enough time to work through the kitchen without feeling rushed. Begin with items you use least — seasonal bakeware, rarely used appliances, formal dinnerware — and work toward the everyday essentials you will need until the very last day. Pack your daily-use items in the final 24 to 48 hours before the move.
Non-perishable canned goods and dry goods can generally be moved safely, though they are heavy and should be packed in small boxes. Perishable items like refrigerated and frozen foods are usually not practical to move — plan to use them up, give them away, or donate them in the week before your move. Open bottles of liquid are a risk regardless; seal them well and pack them upright, or consider discarding them and restocking at the new home.
Dish pack boxes — also called china barrels — are double-walled and significantly sturdier than standard moving boxes, making them worth using for your most fragile kitchenware. Cell kit inserts with individual cardboard dividers are especially effective for glasses and stemware. If you cannot find dish packs, use small, sturdy boxes and pack them carefully with plenty of crumpled packing paper as cushioning between layers.
Pack plates vertically on their edges rather than flat. Stacking plates flat puts weight and impact pressure on the widest, most breakable surface. Standing them on edge — the way you would store records — distributes any impact along the rim, which is structurally much stronger. Wrap each plate individually in packing paper, bundle two or three together with another layer of paper, and pack them snugly in a small box lined with crumpled paper.
It depends on the size and complexity of your kitchen and move. A professional moving crew handles the heavy appliances, navigates tight spaces with oversized items, and has experience loading fragile boxes in a way that minimizes breakage risk. If your kitchen is large, your move involves multiple flights of stairs, or you have high-value items like a full china set or specialty appliances, professional help is usually worth the cost. For a straightforward local move with a modest kitchen, a well-prepared DIY approach is certainly doable with the right supplies and enough time.
No long forms, no delays. Just a move that’s ready when you are. Secure your moving date today.